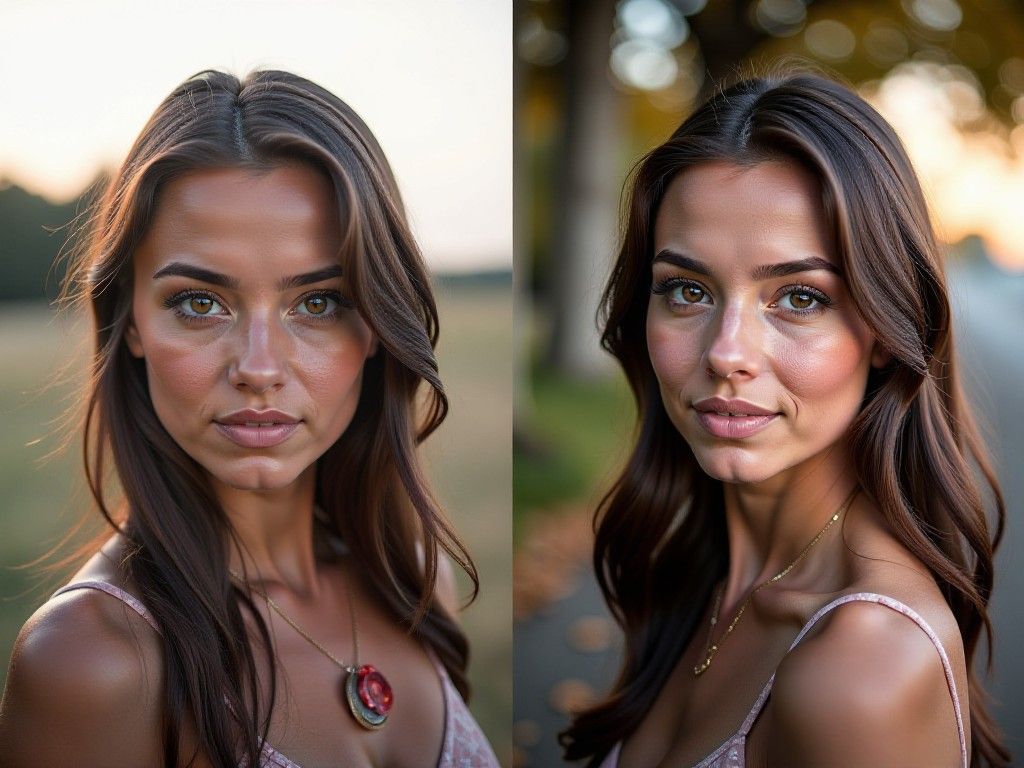
In today’s digital age, photos often capture moments that we later wish to edit for various reasons, such as personal preference or privacy concerns. Whether you’re looking to enhance a family portrait by removing distractions or you want to create professional-grade images for your portfolio, removing people from photos can be a valuable skill. With the advancement of technology, doing this has never been easier, especially with tools like PopDoll. In this comprehensive guide, we’ll walk you through the process of using PopDoll, an AI-powered 3D image generator, to remove people from your photos and transform your images into stunning 3D visuals.
Step 1: What is PopDoll?
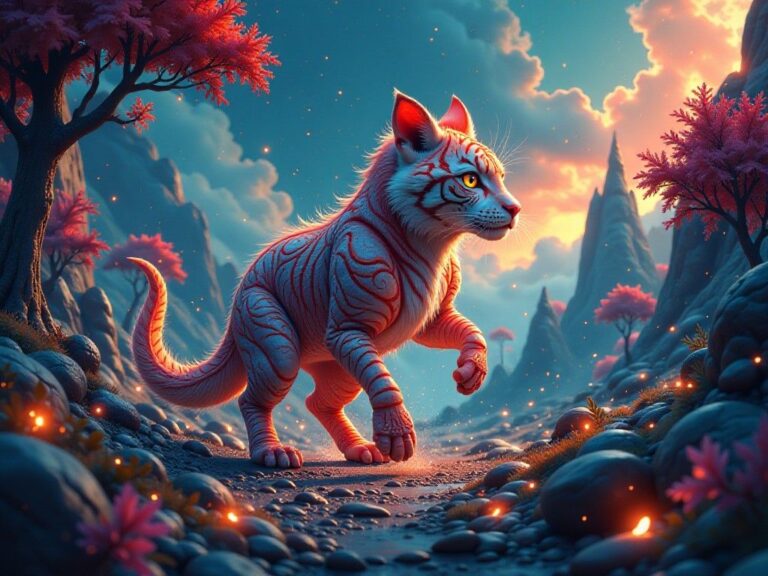
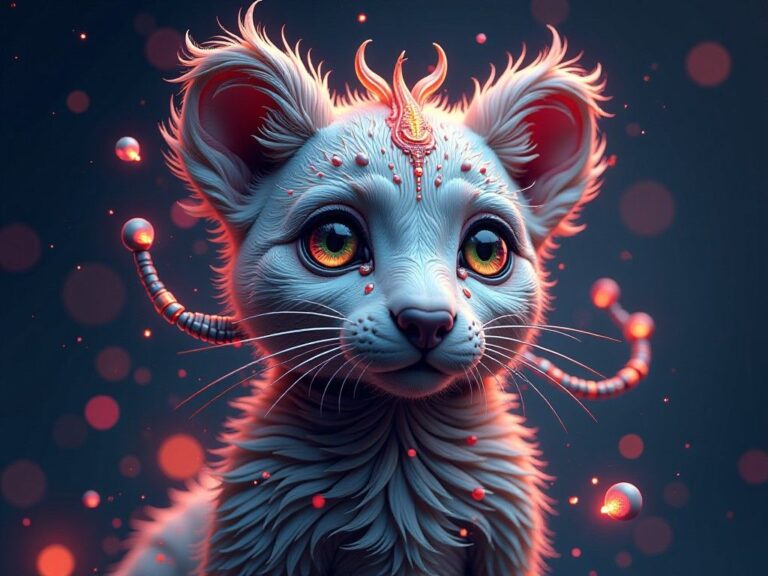
PopDoll is an intuitive and powerful AI-driven app available on Google Play that allows you to generate 3D images from your 2D photos. By utilizing advanced algorithms and technology, PopDoll helps you not only in enhancing your photos but also in removing unwanted subjects effortlessly. The app provides a user-friendly interface that accommodates everyone from novices to photography aficionados.
Before jumping into the editing process, it is essential to download and install PopDoll on your device. You can easily find it on the Google Play Store by clicking here.
Step 2: Downloading and Installing PopDoll
- Open Google Play Store: On your Android device, locate the Google Play Store app and open it.
- Search for PopDoll: In the search bar, type “PopDoll” and hit enter. You should see the app listed prominently in the search results.
- Install the App: Tap on the PopDoll app icon. A new screen will appear, showing you information about the app. Click the “Install” button to download and install it on your device.
- Open PopDoll: Once the installation is complete, click the “Open” button or locate the PopDoll icon on your home screen and tap it to launch the app.
Step 3: Uploading Your Photo
Now that you have PopDoll installed, it’s time to start editing your photo.
- Select a Photo: In the main interface of PopDoll, you’ll find an option to upload an image. Tap on this option.
- Choose Your Image: Navigate through your gallery or file storage to select the photo you want to edit. It could be a family picture, a group shot, or any image where you’d like to remove a person.
- Import the Photo: Once you’ve selected the photo, tap “Open” or “Import” to load it into the app.
Step 4: Removing People from Your Photo
With your photo loaded, it’s time to remove unwanted subjects.
- Select the Removal Tool: After your photo has been imported, look for the editing tools. PopDoll comes equipped with various editing features, including a “Remove” or “Eraser” tool.
- Outline the Subject: Using your finger or stylus, outline the person or area you want to remove from the image. Be as precise as possible to ensure a clean edit.
- Refine the Area: Once you’ve selected the area, you might have the option to adjust or refine the selection. Use tools like zoom and pan to make sure your selection is accurate.
- Apply Removal: After you are satisfied with your selection, look for a button that says “Remove” or “Erase.” Click this to eliminate the selected subject from your image.
Step 5: Refining Your Image
After you’ve removed the person, it’s essential to refine the image to give it a natural look.
- Fill in Gaps: Depending on the background, PopDoll may automatically fill in the area left behind. However, you might want to take additional steps for refinements. Use cloning or healing tools available within the app to blend the background.
- Adjust Lighting and Colors: PopDoll offers various adjustment tools for brightness, contrast, and saturation. Use these features to enhance the overall look of your photo.
- Review Your Edits: Take a moment to review your work. Compare the edited photo with the original to ensure everything looks natural and seamless.
Step 6: Generating 3D Images
One of the standout features of PopDoll is its ability to transform your 2D edits into 3D images.
- Select 3D Generation: Once you’re happy with your edits, look for an option that says “Generate 3D” or similar.
- Set Parameters: You may be prompted to set certain parameters for the 3D generation, such as depth and orientation. Adjust these settings according to your preference.
- Generate 3D Image: After setting your parameters, click the “Generate” button. The app will process your image and create a 3D version.
Step 7: Saving and Sharing Your Work
Once your 3D image has been generated, it’s time to save and share your creation.
- Save the Image: Tap on the save icon or option. You may be prompted to choose a file format and quality. Select your preferences and confirm to save the image to your device.
- Share Your Edits: PopDoll allows you to share your creations directly to social media or via messaging apps. Look for sharing options within the app and choose where you want to share your image.
Final Thoughts
With PopDoll, editing photos and creating stunning 3D images can be straightforward and fun. The ability to remove people from your photos allows for greater flexibility in how you present your images. This intuitive app ensures that even those without advanced editing skills can achieve professional-looking results.
So why wait? Download PopDoll from the Google Play Store now to explore endless possibilities in photo editing and 3D image generation! Your photos deserve that perfect touch, and with PopDoll, you can deliver just that.
In conclusion, whether you’re looking to create memorable keepsakes or stunning visuals for your professional portfolio, PopDoll is a tool that can meet these creative needs. By following the steps outlined in this tutorial, you’ll gain the confidence to craft visually appealing images like a pro. Enjoy the process and let your creativity flow!