In today’s digital age, capturing attention through creative visuals is key, whether for personal projects, social media, or marketing. One innovative way to create stunning visuals is through 3D images, which can add depth and an immersive quality that traditional 2D images often lack. PopDoll is an exciting AI-powered tool that allows users to convert images into 3D representations, making it easier than ever to create stunning visuals. In this tutorial, we will explore how to apply negative effects using PopDoll, enhancing your images in creative ways. By the end of this guide, you’ll be ready to take your image creation skills to the next level.
What is PopDoll?
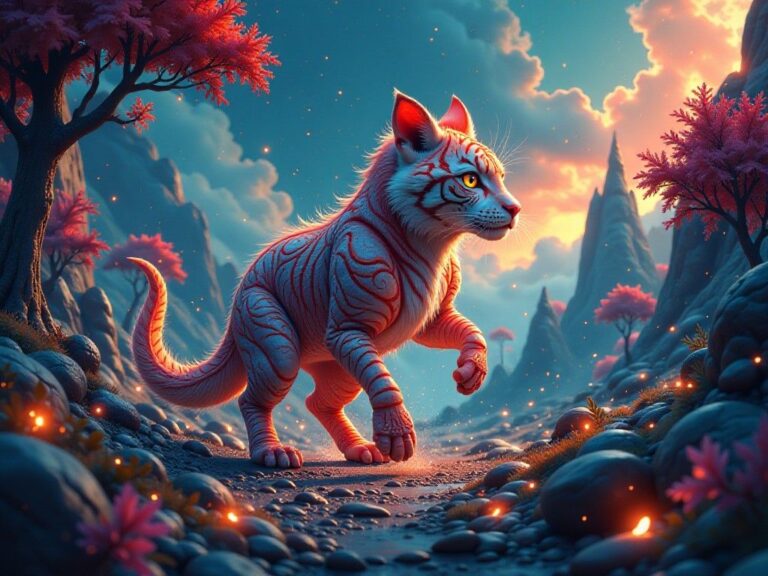
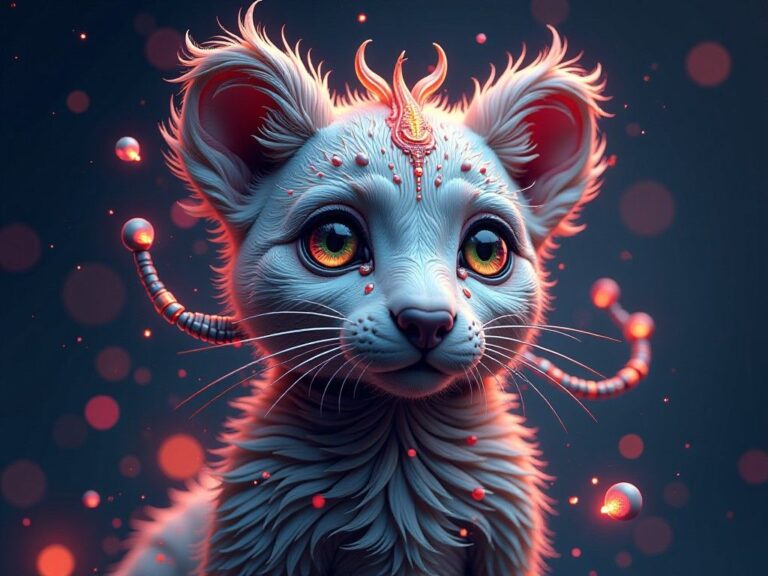
PopDoll is an AI 3D image generator designed to transform ordinary images into vibrant 3D artworks. With a user-friendly interface and a variety of customization options, PopDoll makes it straightforward for anyone, regardless of technical skill, to create eye-catching visuals. Whether you’re a digital artist, a marketer, or simply someone who enjoys experimenting with images, PopDoll offers tools that can help you bring your creative ideas to life.
Why Use Negative Effects?
Negative effects can dramatically alter the perception of an image. These effects often give photos a surreal or dream-like quality, which can drive engagement and interest. By manipulating the color palette, playing with shadows, or altering shapes, you can create visuals that provoke thought or elicit emotion. Applying such effects effectively can help your images stand out in a crowded digital space.
Getting Started with PopDoll
Before we dive into applying negative effects, let’s ensure that you have PopDoll installed on your device. Follow these simple steps:
- Download the App: Head over to Google Play to download PopDoll directly onto your Android device.
- Install PopDoll: After the download is complete, open the app and follow the installation prompts.
- Create an Account: Sign up for a free PopDoll account to access all features and store your creations securely.
Step-by-Step Guide to Applying Negative Effects
Now that you’re set up with PopDoll, let’s explore how to apply negative effects to your images. Follow these detailed steps:
Step 1: Select Your Base Image
- Open PopDoll: Launch the app on your device.
- Choose an Image: Tap on the “Gallery” icon to choose an image from your device. It can be a photo you’ve taken or an image that inspires you.
- Upload the Image: After selecting the image, it will upload and appear in the editing interface.
Step 2: Convert to 3D
Before applying negative effects, you must first convert your chosen 2D image into a 3D model.
- Convert: Click the “3D Convert” button. PopDoll will utilize its artificial intelligence to generate a 3D version of your image.
- View the 3D Model: Once the conversion is complete, you can manipulate your 3D model. Rotate, zoom in, and out to examine it from various angles to see if any adjustments are necessary.
Step 3: Apply Negative Effects
Now that you have your 3D model ready, it’s time to start applying negative effects.
- Explore Effects Menu: Look for the “Effects” or “Filters” tab in the editing interface.
- Select Negative Effect Filter: Within the effects menu, you will find various options. Choose one that applies negative effects—this could be labeled as “Inversion,” “Shadow Play,” or something similar.
- Adjust Parameters: Once you select a negative effect filter, you’ll often have options to adjust intensity, mix different effects, or change colors. Experiment by sliding controls to observe how each adjustment alters your image.
- Preview Changes: After making adjustments, preview your image in real time to see how the changes look.
Step 4: Final Touches
After applying the desired negative effects, it’s time to fine-tune your image.
- Use Additional Tools: Utilize the cropping, resizing, and layering tools available in PopDoll for further enhancement.
- Adjust Lighting: Play with the lighting options to create shadows that complete the negativity of the image, enhancing its depth.
- Add Background Elements: Consider adding or changing the background to complement the negative effects you’ve applied. This can help unify your image.
Step 5: Save and Share Your Creation
Once you’re satisfied with the image, it’s time to save and share it with the world.
- Save Your Image: Click the ‘Save’ button when you’re ready to store your creation on your device. Choose the resolution and format that best suits your needs.
- Share on Social Media: Utilize the sharing options on PopDoll to post your new image on platforms like Instagram, Facebook, or Twitter, allowing your followers to see your impressive work.
Tips for Optimizing Your Images with Negative Effects
- Experiment Boldly: Don’t hesitate to try various combinations of effects. Sometimes the most unexpected pairings yield the most striking results.
- Stay Consistent: While creativity is encouraged, maintaining consistency in style across your creations can help establish your personal brand.
- Seek Feedback: Sharing your images with friends, family, or in online communities can provide you with valuable feedback and new ideas.
- Study Trends: Keep an eye on current visual trends on social media and design platforms to inspire your edits.
Conclusion
Learning how to apply negative effects using PopDoll enhances your ability to create unique and engaging images. The application’s versatile features allow anyone to experiment with various styles and effects easily. By following this guide, you’ll be well on your way to generating stunning 3D visuals that capture attention and provoke thought.
So don’t wait! Download PopDoll from Google Play, start exploring its features, and let your creativity flow. The world of imaginative possibilities awaits within your fingertips!