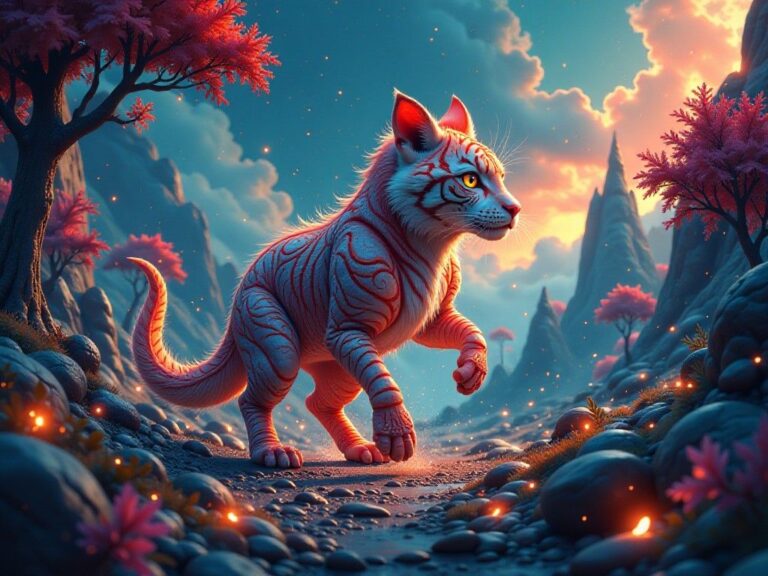
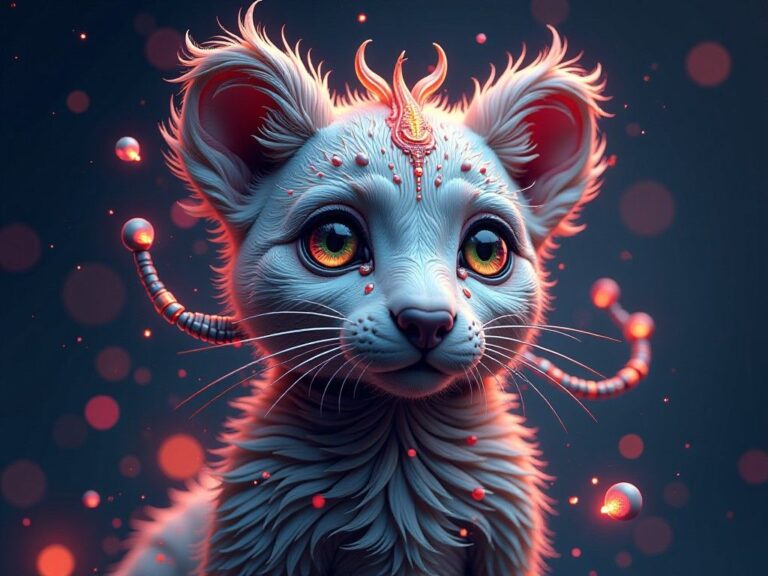
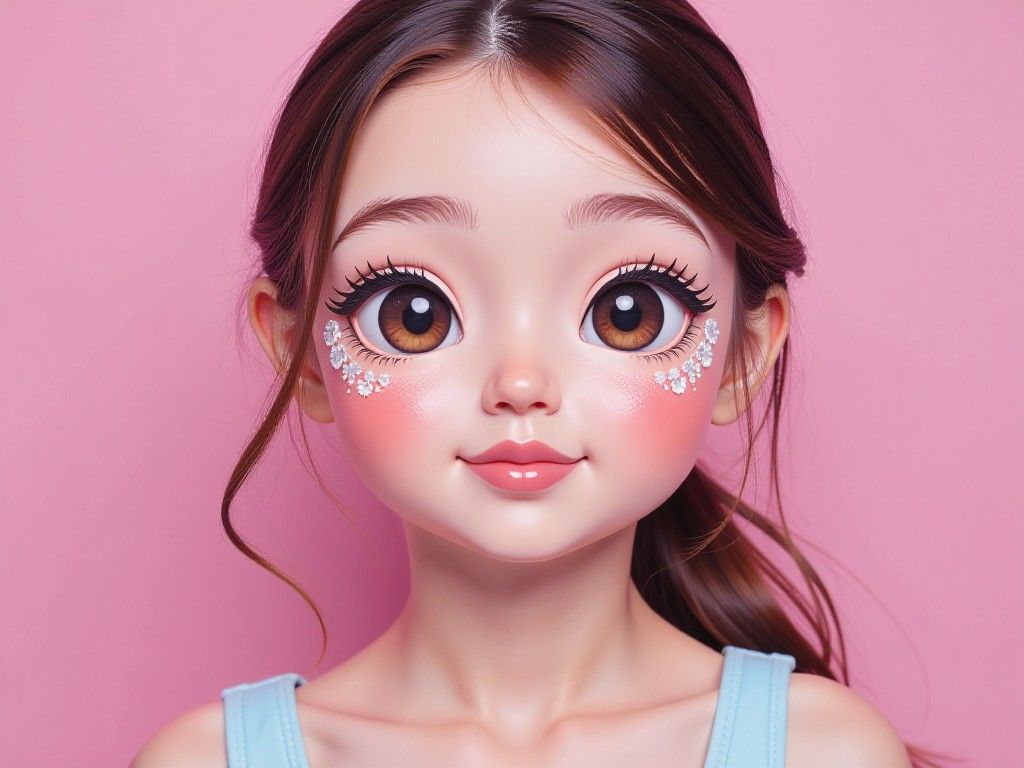
In today’s digital landscape, the demand for creative content has increased tremendously. Whether you are an artist, a designer, or simply someone who enjoys creating visually appealing images, tools like PopDoll can bring your imagination to life. PopDoll is an innovative AI 3D image generator that allows you to convert 2D images into stunning 3D representations. One of its most exciting features is the Shape Mask tool, which enables you to apply unique effects to your images. In this comprehensive tutorial, you will learn how to leverage the Shape Mask feature in PopDoll, ensuring your creations stand out and impress.
What is PopDoll?
PopDoll is an advanced application designed to transform your 2D images into beautifully rendered 3D graphics. This app is particularly favored for its user-friendly interface and powerful capabilities, making it accessible to everyone, from beginners to seasoned professionals. By downloading PopDoll, you gain access to a plethora of features that can enhance your creative process.
You can easily download PopDoll on Google Play by following this link: Download PopDoll.
Create your perfect 3D avatar today with PopDoll!
Key Features of PopDoll
Before we delve into how to use the Shape Mask feature, let’s highlight some key features of PopDoll:
- 3D Conversion: Transform your 2D images into 3D visuals with just a few taps.
- Shape Masking: Apply custom shapes to your images, adding depth and creativity.
- Intuitive Interface: User-friendly design makes navigation as easy as pie.
- Artistic Filters: Enhance your images with a range of artistic filters.
- Community Sharing: Share your creations with other users and get inspired by their work.
Now that you have an overview of what PopDoll offers, let’s dive into the exciting part: using the Shape Mask feature.
Step-by-Step Guide to Applying Shape Mask in PopDoll
Step 1: Download PopDoll
Start by downloading the app from the Google Play Store. Open your device and click on the following link to access PopDoll: Download PopDoll. Once installed, launch the app to get started.
Step 2: Create a New Project
Upon opening PopDoll, you will be greeted by a welcoming interface. Here, you will see options to start a new project or edit existing images. Select Create New Project to begin.
Step 3: Upload Your Image
You’ll need a base image for shape masking. Click on the upload button and select a 2D image from your gallery. The image can be anything—from a portrait to a landscape. Once you upload the desired image, you can view it on the application canvas.
Step 4: Access the Shape Mask Tool
After your image appears on the screen, look for the Shape Mask tool in the sidebar menu. Clicking on this option will take you to a selection of various shapes available for use.
Step 5: Choose Your Shape
The Shape Mask tool offers a variety of shapes, including circles, stars, hearts, and custom shapes. Take your time to browse through the options. When you find a shape that resonates with your vision, click on it.
Step 6: Adjust the Masking
Once you’ve selected a shape, you can adjust the size and position of the mask by dragging it over your image. Use the pinch gesture to resize and rotate the shape as needed. You can center it over a key feature in your image for a striking effect.
Step 7: Apply the Mask
After adjusting the mask to your satisfaction, it’s time to apply it. Look for the Apply button at the top-right corner of the screen. Clicking this will apply the shape mask to your image.
Step 8: Fine-tune Your Image
With the mask applied, take a moment to explore other editing options in PopDoll. You can adjust brightness, contrast, and saturation, or even apply creative filters to enhance the visual appeal of your project. Play around with different settings until you achieve the desired effect.
Step 9: Preview Your 3D Image
Once you’re satisfied with your edits, it’s time to preview how your image will look in 3D. Click on the Preview button, and PopDoll will generate a 3D version of your altered image. You can rotate and examine it from various angles to see how the mask adds depth and interest.
Step 10: Save and Share Your Creation
Feeling proud of your work? You should be! To save your image, click on the Save button. You’ll have the option to store it on your device or share it directly to social media or with the PopDoll community. Sharing your creations can inspire others and allow you to receive feedback.
Tips for Using Shape Masks Effectively
- Experiment with Shapes: Don’t hesitate to try different shapes and configurations. Sometimes the most unexpected combinations yield stunning results.
- Use High-Quality Images: For the best results, start with high-resolution images. This ensures that your final output retains clarity and detail.
- Consider Color Schemes: Think about the color relationship between your background image and the shape mask you are applying. Complementary colors can create a striking visual impact.
- Stay Informed: PopDoll frequently updates its features. Keep an eye on new capabilities and adjustments that can further improve your creative process.
Conclusion
The Shape Mask feature in PopDoll paves the way for endless creative possibilities. By following this tutorial, you now have the knowledge to apply shape masking effectively to your 3D images, enhancing their artistic flair.
Don’t forget to download PopDoll from the Google Play Store using this link: Download PopDoll and start transforming your images today! With practice and experimentation, your skills will flourish, allowing you to create compelling visuals that captivate any audience. Happy creating!