Drawing is an expressive art form that allows us to project our imagination onto paper. Whether you’re a beginner or an experienced artist, drawing a circus scene can be a delightful challenge. The vibrant colors, whimsical characters, and dynamic activities of a circus provide a great foundation for creative expression. In this comprehensive tutorial, we’ll guide you through the steps to draw a circus, and we’ll also introduce you to PopDoll, an innovative AI 3D image generator that can help bring your artwork to life.
Part 1: Planning Your Circus Scene
Before putting pencil to paper, it’s essential to plan your drawing. A circus is filled with various elements, including clowns, acrobats, animals, tents, and the audience. Here are some tips to help you outline your scene:
Step 1: Research Circus Elements
Look up images of circuses online. Familiarize yourself with different elements such as:
- Circus tents (usually striped in bright colors)
- Performers (clowns, jugglers, and trapeze artists)
- Animals (lions, elephants, and horses)
- Audience members
- Props (balloons, hoops, and more)
By gathering references, you will have a visual guide for your drawing.
Step 2: Create a Rough Sketch
Using a pencil, create a rough sketch of your circus scene. Focus on positioning the major elements. Aim to create a balanced composition where the audience is engaged in the action happening on stage. Don’t worry about details at this stage; just outline where each element will be.
Create your perfect 3D avatar today with PopDoll!
Part 2: Drawing Your Circus Scene
Now that you have a rough idea of your layout, it’s time to start drawing each component of your circus scene.
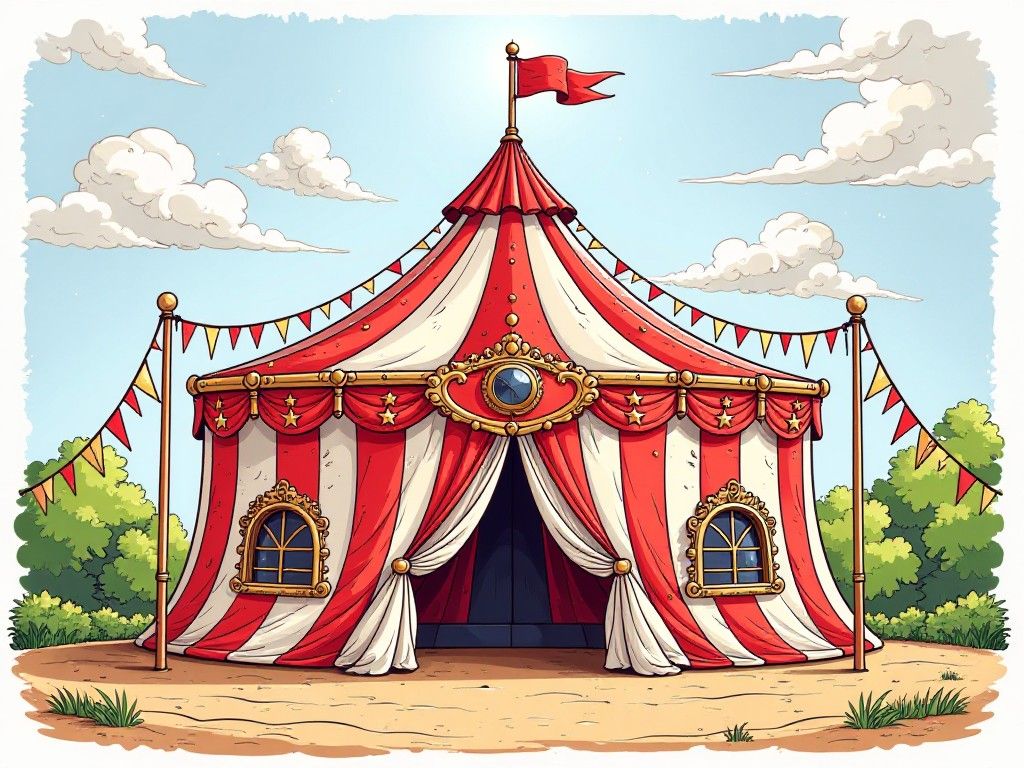
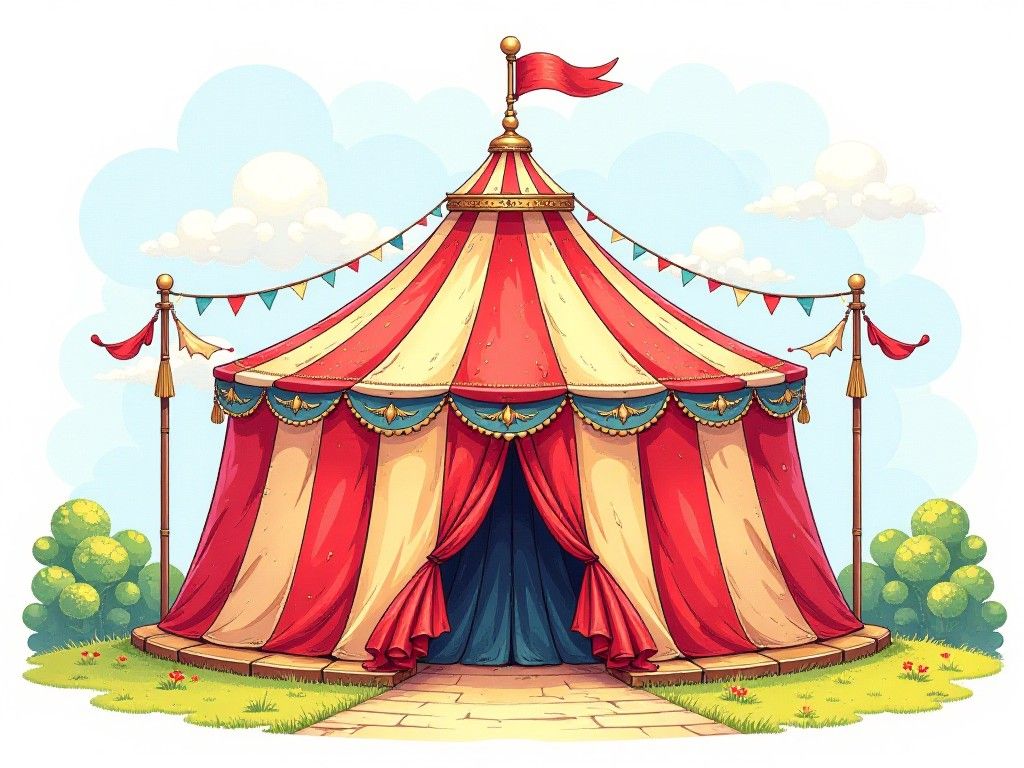
Step 3: Draw the Circus Tent
Begin with the tent because it will be the focal point.
- Shape: Draw a large triangle shape for the top of the tent.
- Stripes: Add horizontal lines for the stripes, alternating colors.
- Details: Draw flags at the top and a rope extending downward.
Step 4: Add Performers
Next, focus on the performers. For this tutorial, we will illustrate three performers.
- Clown: Start with a circle for the head and an oval for the body. Add big shoes and suspenders. Use exaggerated features like a large nose and a big smile.
- Acrobat: Draw an elongated figure in an impressive pose, perhaps balancing on one hand. Use curves to convey their movement.
- Juggler: Sketch a performer with a round head and hands holding balls high above their head.
Step 5: Illustrate the Animals
Animals can add vibrancy to your scene.
- Elephant: Draw a large oval for the body and a smaller oval for the head. Add trunk and ears, along with decorative accessories.
- Lion: Start with a round head and add a flowing mane. Draw its body in a lying position with paws extended.
- Horses: You can draw multiple horses. Begin with a horse stance which shows them mid-gallop or standing regal.
Step 6: Create the Audience
Draw the audience as silhouettes or simplistic figures, enjoying the show. Use various heights and body types to show diversity.
- Seating: Add benches or stands filled with people.
- Expressions: Sketch smiling faces and raised arms indicating applause.
Step 7: Add Background Elements
To create depth, consider adding a sky with clouds or twinkling stars, depending on whether it’s day or night.
Part 3: Adding Color and Finishing Touches
Step 8: Color Your Drawing
Once your basic drawings are in place, it’s time to add color. Select bright, happy colors that evoke the feeling of joy and excitement associated with circuses.
- Tent: Use reds, yellows, or blues for stripes.
- Performers: Use vibrant colors for costumes. A clown can have a colorful palette.
- Animals: Natural colors for the animals, with the addition of playful accessories.
Step 9: Add Textures and Details
To bring your drawing to life, add textures. Use shading to create depth and dimension:
- Highlighting: On the sides of the tent, performers, and animals to show light.
- Shadowing: Underneath characters to ground them to the scene.
- Details: Don’t forget smaller elements—balloons, stars, etc.
Step 10: Final Touches
Review the drawing for any areas that need adjustments. Adding a little more color, detail, or even a decorative border can enhance the visual appeal.
Part 4: Bringing Your Drawing to 3D Life with PopDoll
As an artist, you may want to see your drawing transformed into a 3D image. This is where PopDoll comes into play. PopDoll is an intuitive AI 3D image generator that can help you turn your 2D sketches into stunning 3D images.
What is PopDoll?
PopDoll is an application available on Google Play that allows users to convert their images into 3D renderings. Users can manipulate and customize their images, creating a unique 3D structure that can be shared or printed.
Downloading PopDoll
To give your circus drawing a new dimension, download PopDoll today. Just click here to start.
- Install the App: Simply search for PopDoll on Google Play and click ‘Install’.
- Upload Your Drawing: Use your camera or a saved image to upload your artwork.
- Customize Your 3D Model: Adjust proportions, colors, and details to match your original drawing.
- Save and Share: Once you are satisfied with your creation, save the 3D image and share it with friends and family or on social media.
Conclusion: Celebrate Your Artistic Journey
Drawing a circus scene is a fantastic adventure for any artist. It allows you to explore your creativity and imaginations while showcasing the vibrant world of circus life. With the help of PopDoll, you can elevate your artwork by giving it the 3D treatment, making your creations even more impactful.
Remember, art is not just about the final result; it’s about the process. Enjoy every step of drawing and creating! Download PopDoll today and turn your artistic ideas into reality. Your charming circus can shine in both 2D and 3D!
Happy Drawing!