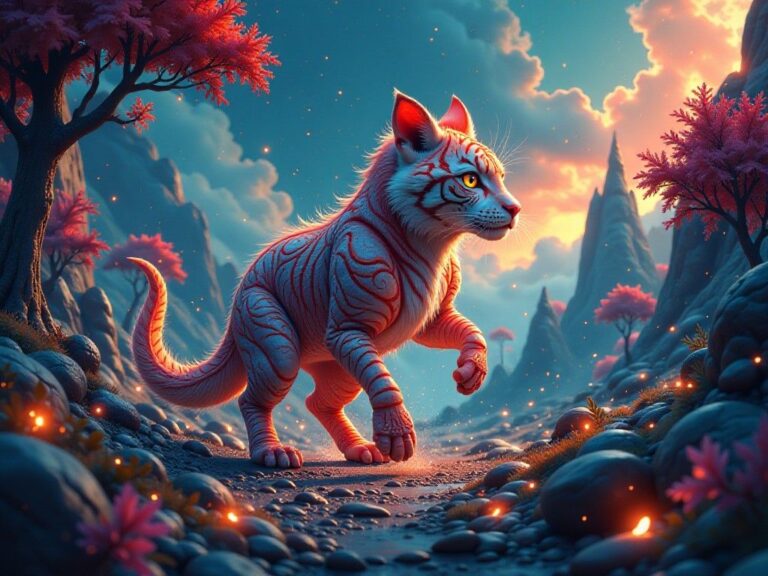
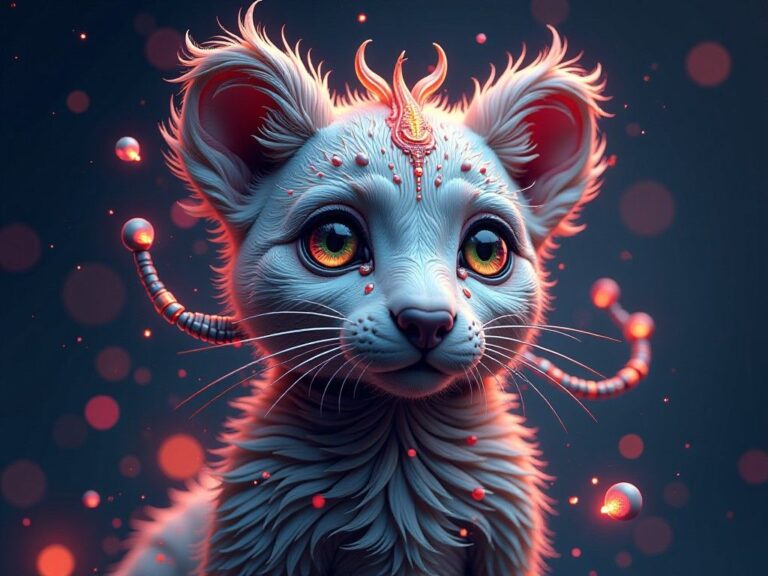
Have you ever wished to transform your favorite images into stunning 3D models? If so, PopDoll is the perfect application for you! This innovative AI-powered 3D image generator allows you to convert 2D pictures into captivating 3D visuals in just a few simple steps. With an easy-to-use interface and impressive results, PopDoll is designed for users of all skill levels. In this article, we will guide you through the process of using the Add Photo feature in PopDoll.

What is PopDoll?
Before we dive into the details, let’s briefly discuss PopDoll. This application specializes in creating 3D images, which can be particularly useful for artists, designers, social media enthusiasts, and anyone who loves to experiment with digital art. With PopDoll, you can take any photo and see it transformed into a 3D render, providing you with new avenues for creativity and self-expression.
Ready to start your journey? If you haven’t downloaded PopDoll yet, head over to Google Play to get started!
Create your perfect 3D avatar today with PopDoll!
Step-by-Step Guide on Using the Add Photo Feature
Step 1: Downloading and Installing PopDoll
The first step in your 3D image generation journey is to download and install the PopDoll app. Follow these simple steps:
- Open the Google Play Store on your Android device.
- In the search bar, type “PopDoll” and press enter.
- Locate the app developed by PopDoll and click on it.
- Tap the “Install” button to start the download.
- Once installed, open the app and allow the necessary permissions for an enhanced experience.
Step 2: Creating an Account
If you’re a first-time user, you’ll need to create an account to access the full features of PopDoll:
- Launch the app after installation.
- On the welcome screen, click on “Sign Up” or “Log In” if you already have an account.
- Fill in the required information, including your email and a password.
- Verify your email if prompted to complete the registration process.
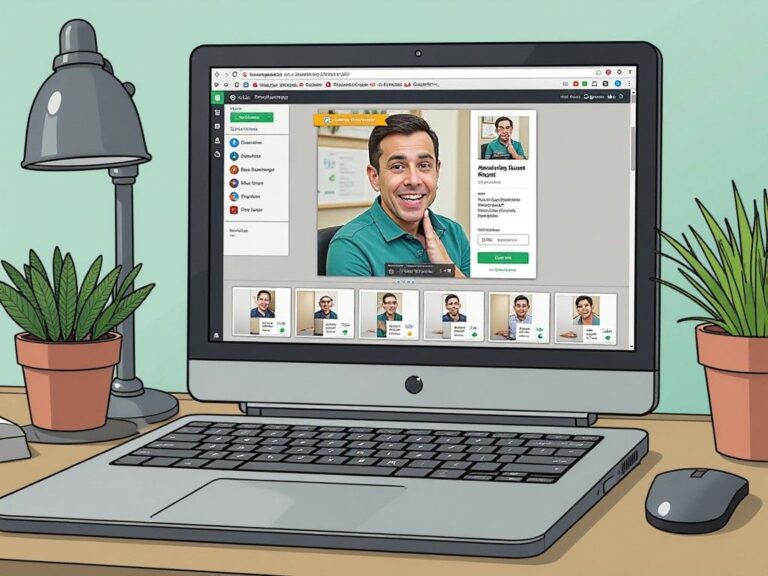
Step 3: Navigating to the Add Photo Feature
Once you have your account set up, it’s time to explore the features of PopDoll:
- On the main dashboard, look for the “Create” button. It’s usually prominently displayed.
- Click on “Create,” which will take you to the next menu.
- Find the “Add Photo” option and select it. This is where the magic begins!
Step 4: Uploading Your Image
Now it’s time to choose the image you want to convert into 3D. Here’s how:
- After selecting the “Add Photo” option, tap on the button to upload your image.
- You’ll see options to upload from your device’s gallery, take a new photo, or import images from social media.
- Select your preferred method and pick the image you wish to convert.
- Ensure that the image is clear and well-lit for the best results.
Step 5: Customizing Your Image
Once you’ve uploaded your photo, you can customize it before the 3D conversion:
- Adjust the settings as needed, which might include cropping, rotating, or resizing your photo.
- Some apps allow basic editing features. Familiarize yourself with these to enhance the quality of your image.
- If your image includes multiple subjects, consider choosing the primary focus for optimal results.
Step 6: Generating Your 3D Model
With your photo ready and customized, it’s finally time to generate the 3D model:
- Look for the “Generate 3D Image” button. Click on it.
- Depending on your device’s performance and the complexity of your image, this process may take a few moments. Be patient – you’re about to see something amazing!
- Once the process is complete, your 3D image will be displayed on the screen.
Step 7: Reviewing and Saving Your 3D Image
After your image has been generated, take a moment to review it:
- Rotate and zoom in on your 3D model. Check for any adjustments you might want to make.
- If you’re satisfied with the result, proceed to save your 3D image.
- PopDoll typically offers various saving options, such as saving to your gallery or sharing directly on social media platforms.
Step 8: Sharing Your Creation
What’s better than creating stunning 3D images? Sharing them with friends and family! Here’s how you can show off your artistic flair:
- The app might provide social media sharing options directly after saving your image. Choose your desired platform.
- If you didn’t see a sharing option, you can manually navigate to your device’s gallery, find your saved 3D image, and share it from there.
Tips for Better Results
- Choose High-Quality Images: Higher resolution images will yield better 3D models. Avoid low-quality pictures to ensure clear results.
- Experiment with Different Images: Don’t hesitate to try various styles or subjects. This is part of the fun of working with PopDoll!
- Use the Editing Features: If PopDoll offers built-in editing tools, take advantage of them to improve your photos before generating the 3D model.
Troubleshooting Common Issues
If you encounter any issues while using the Add Photo feature in PopDoll, here are a few tips to help you troubleshoot:
- App Crashing or Freezing: Restart the app, or reboot your device. Ensure that you have the latest version of PopDoll installed.
- Slow Generation Times: If creating a 3D model takes too long, try using simpler or clearer images to see quicker results.
- Lower Quality Images: Consider using better-lit photos or images with less background noise for improved results.
Conclusion
PopDoll offers a fascinating way to transform your 2D images into eye-catching 3D models. Its user-friendly interface and customizable options make it accessible for everyone, whether you’re a professional artist or a casual user. By following this guide, you can easily navigate the Add Photo feature and create stunning visuals that will impress your friends and followers.
To start creating your amazing 3D images, don’t forget to download PopDoll from Google Play today. Embrace the opportunity to showcase your creativity and watch your ideas come to life in 3D!
Additional Resources
If you’re looking for inspiration or additional tips on using PopDoll, consider checking out:
- User Forums: Join online communities where users share tips, tricks, and creation experiences.
- Tutorial Videos: Visual guides can be helpful for seeing the app in action and learning new techniques.
- Social Media: Follow PopDoll’s official accounts to stay updated on new features, updates, and user showcases.
By utilizing these resources, you can enhance your experience with PopDoll and continuously improve your skills in generating impressive 3D imagery. Happy creating!