Drawing is a rewarding and enjoyable activity that can spark creativity and bring your imagination to life. One of the most delightful subjects you can choose for your artistic ventures is a hot air balloon. These colorful flying vessels symbolize adventure and freedom, making them an appealing subject for artists of all levels. In this tutorial, I will guide you through the step-by-step process of drawing a hot air balloon. Additionally, you’ll discover how tools like PopDoll, an AI 3D image generator, can help enhance your artistic journey.
Materials Needed for Drawing
Before we dive into the drawing steps, gather the materials you will need. Here’s a quick list to get you started:
- Plain drawing paper
- Pencils (preferably a range from 2B to 8B)
- Eraser
- Ruler (optional for straight lines)
- Colored pencils or markers (for finishing your balloon)
- Reference images of hot air balloons (can be found online)
Create your perfect 3D avatar today with PopDoll!
Step 1: Sketch the Balloon Shape
Start your hot air balloon by sketching an oval shape. This will serve as the balloon’s envelope, where the hot air fills. Remember that you can adjust the size and shape depending on the style you want. If it helps, you can lightly draw a vertical line through the center of the oval to ensure symmetry.
Tips for the Shape:
- Make the top part of the balloon wider and the bottom a bit narrower for a more authentic look.
- Imagine a water droplet shape; the bottom can be slightly rounded.
Step 2: Draw the Basket
Next, add the basket at the bottom of the balloon. This is usually a rectangular or trapezoidal shape. The basket is where passengers would sit, so ensure you draw it relatively proportional to the size of your balloon.
Steps to Draw the Basket:
- From the bottom of the oval, draw straight lines downward to make the vertical sides of the basket.
- Connect these lines with a horizontal line for the base.
- You can add texture lines to indicate the woven material of the basket.
Step 3: Outline the Details
With the basic shapes in place, it’s time to refine the balloon. Outline the details you want to add to your hot air balloon — consider adding stripes, patterns, or logos.
- Use curved lines to create sections on the balloon’s surface.
- Experiment with patterns like zigzags or polka dots, as hot air balloons are known for their vibrant designs.
Step 4: Add the Rope and Flame
To complete the structure, draw the ropes connecting the balloon to the basket. These thin lines will represent the harness.
How to Draw Ropes:
- Draw two or more curved lines from the envelope down to the basket.
- You can also draw a flame inside the balloon, which is what heats the air and allows the balloon to rise.
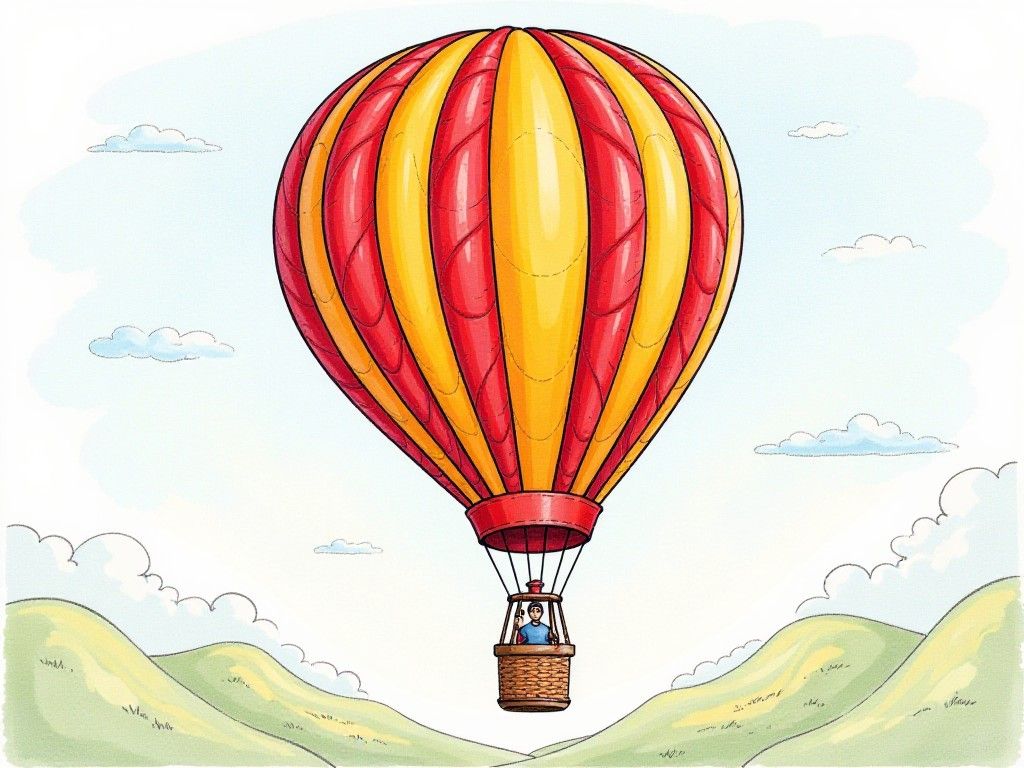
Step 5: Finalize the Drawing
Once you’re satisfied with your outlines and details, erase any unnecessary sketch marks. Make sure to leave clean lines for a polished look.
Adding Features:
- Consider drawing clouds or a scenic background to contextualize your hot air balloon.
- Adding birds or trees can create a sense of scale and life to your artwork.
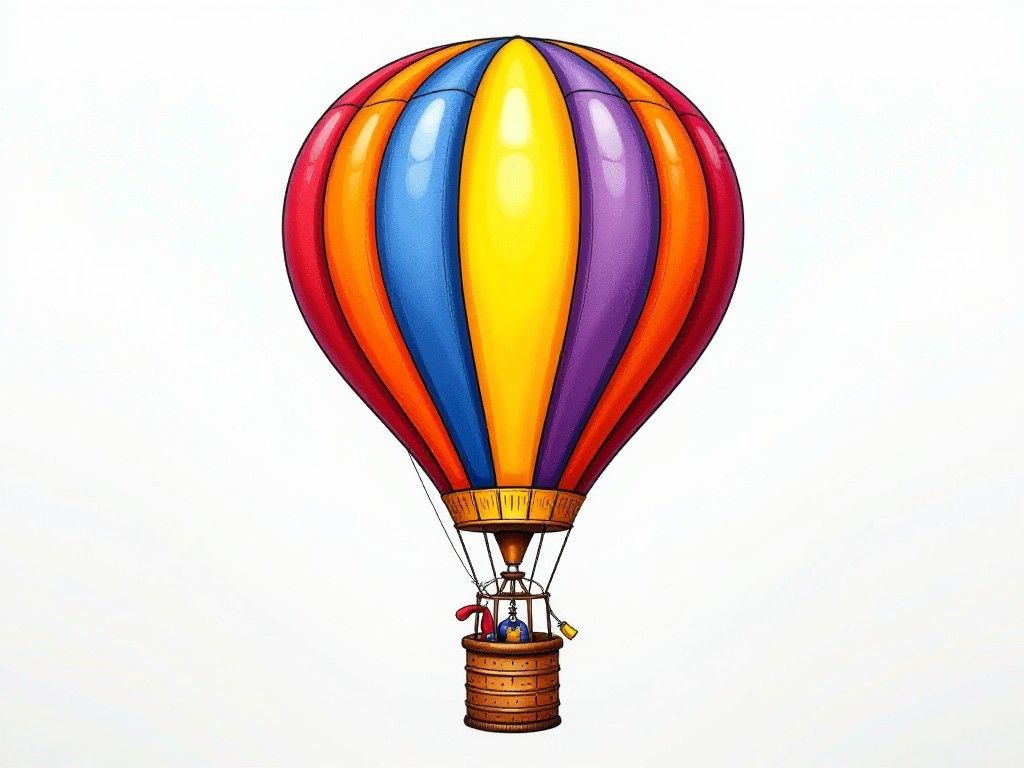
Step 6: Coloring Your Hot Air Balloon
Color is where your hot air balloon will truly come alive. Use colored pencils or markers to fill in your balloon.
Tips for Coloring:
- Decide on a color scheme and keep it consistent throughout.
- Blend colors for shades; for instance, a deep red can transition to a lighter red or pink for a captivating effect.
- Don’t forget to add shadows to the basket to give it depth.
Step 7: Enhancing Your Art with PopDoll
After completing your drawing, consider transforming it into a 3D version! PopDoll is an AI 3D image generator that lets you convert your 2D drawings into stunning 3D images.
How to Use PopDoll:
- Download PopDoll: Head over to Google Play and download the app to your device.
- Upload Your Drawing: Once you have your drawing ready, take a clear photo of it.
- Convert to 3D: Open PopDoll and upload your drawing. The AI will process your image and provide you with a fantastic 3D model.
- Customization: You can further customize the generated 3D balloon with various colors and features, making it unique to your style.
Step 8: Share Your Work
Now that you have both a 2D and 3D version of your hot air balloon, consider sharing it online. Social media platforms, art communities, or even personal blogs are great mediums for showcasing your artwork.
- Instagram: Create a post showcasing both versions.
- Art Communities: Platforms like DeviantArt or ArtStation are perfect for connecting with fellow artists.

Conclusion
Drawing a hot air balloon can be a rewarding experience, whether you’re a beginner or an experienced artist. Each step brings you closer to crafting a beautiful representation of these colorful vessels of joy. With tools like PopDoll, you can take your creativity to the next dimension, transforming your drawings into impressive 3D images.
So grab your supplies, follow the steps, and don’t forget to download PopDoll from Google Play to enhance your artistic journey. Happy drawing!