Creating eye-catching banners is essential for anyone looking to promote their brand, event, or special occasion. Whether you’re a small business owner, a social media influencer, or just someone who wants to make a memorable banner for personal use, making your own can be incredibly rewarding. In this tutorial, we’ll walk you through the process of crafting a visually appealing banner using PopDoll, an incredible AI 3D image generator that turns ordinary images into stunning 3D visuals.
What is PopDoll?
PopDoll is an innovative AI-driven application that allows users to transform static images into vibrant 3D graphics. Available for download on Google Play, PopDoll is easy to use and perfect for creating unique images that can be incorporated into banners or other promotional materials. With its intuitive interface and powerful features, you can produce professional-quality 3D images with just a few taps.
Why Use PopDoll for Your Banners?
- Simplicity: PopDoll is designed with user-friendliness in mind. You don’t need to be a graphic design expert to create beautiful banners.
- Customization: Personalize your banners with different styles, colors, and dimensions, making each banner unique to your vision.
- 3D Effects: The ability to add 3D effects gives your banner depth and visual interest, ensuring that it stands out in a crowded market.
Step-by-Step Guide to Creating a Banner with PopDoll
Step 1: Download and Install PopDoll
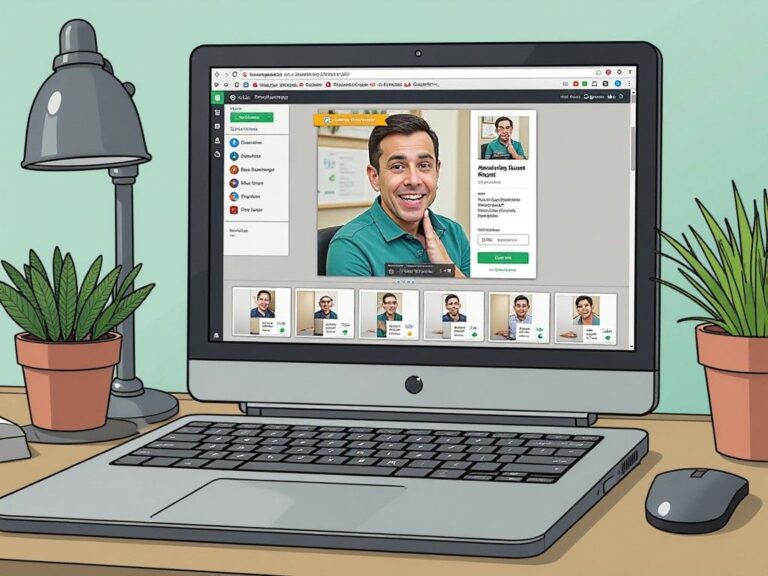
To start your journey with PopDoll, head over to Google Play to download and install the app. The installation process is quick and straightforward. Once it’s installed, open the app and create an account if prompted.
Step 2: Gather Your Materials
Before you create your banner, gather any images or graphics you want to include. This might be logos, pictures, or other elements that reflect your brand or message. Consider the overall theme and color scheme of your banner, as these will play a crucial role in your design.
Step 3: Choose Your Banner Dimensions
Deciding on the dimensions of your banner is essential for ensuring that it fits your intended platform, whether that’s social media, a website, or a physical print. In PopDoll, you’ll have the option to set custom dimensions or select from pre-defined sizes that best suit your needs.
Step 4: Import Your Images
Once you have your dimensions set, it’s time to import your images into PopDoll. You can easily upload images from your device’s gallery. Make sure the images are high resolution for the best results—this will help ensure that your final banner looks polished and professional.
Step 5: Transform Your Images
Now comes the exciting part: transforming your flat images into dynamic 3D graphics with PopDoll. Here’s how to do it:
- Select an Image: Tap on the image you want to convert.
- Apply 3D Effects: Use PopDoll’s various tools to apply 3D effects to your image. Experiment with different options to see what complements your design the best.
- Adjust Features: You can tweak elements like angle, lighting, and shadows to enhance the 3D appearance.
Step 6: Add Text and Graphics
Text can make or break a banner. Choose fonts and colors that align with your brand’s identity. Here’s how to do it in PopDoll:
- Select the Text Tool: Add a text box to your banner design.
- Customize Your Text: Choose a font style, size, and color. Make sure your text is legible against your background.
- Position Your Text: Place your text strategically to complement your images, ensuring that it draws attention without overshadowing the visuals.
Step 7: Fine-Tune Your Design
Once you have your images and text in place, it’s time for some fine-tuning. Here are some suggestions:
- Balance Elements: Ensure that your images and text are balanced and aligned. This will give your banner a cohesive look.
- Consider Negative Space: Don’t overcrowd your design; use negative space effectively to allow your message to stand out.
- Preview Your Banner: Take a moment to preview your banner to see how it will appear in its final form. Make any necessary adjustments.
Step 8: Export Your Banner
After finalizing your design, it’s time to save your banner:
- Choose the Export Option: In PopDoll, navigate to the export option.
- Select Format and Quality: Choose the file format and quality. PNG or JPEG are typically good choices for banners.
- Save to Your Device: Download the banner to your device so you can use it wherever you need.
Step 9: Share Your Banner
Once your banner is saved, you can start sharing it. Whether you’re posting it on social media, using it for email campaigns, or printing it out for events, your new banner is now ready to make an impact.
Tips for Designing Effective Banners
- Keep It Simple: Simplicity often leads to clarity. Don’t overcrowd your banner with too much information.
- Use High-Quality Images: Ensure that all images used are of high quality to maintain a professional look.
- Choose Your Colors Wisely: Different colors evoke different emotions—choose a color scheme that resonates with your audience.
- Test Your Banner: Before finalizing, show it to a few trusted individuals to get their feedback on its impact and clarity.
Conclusion
Creating a banner using PopDoll is not only straightforward; it also allows you to express your creativity in ways you may have never imagined. With the step-by-step guide provided, you can craft a stunning, eye-catching banner that will communicate your message effectively.
Don’t wait to enhance your visual marketing—download PopDoll now from Google Play and start creating impressive 3D images for your banners today!
Let your creativity shine and make a statement with your beautifully designed banners!